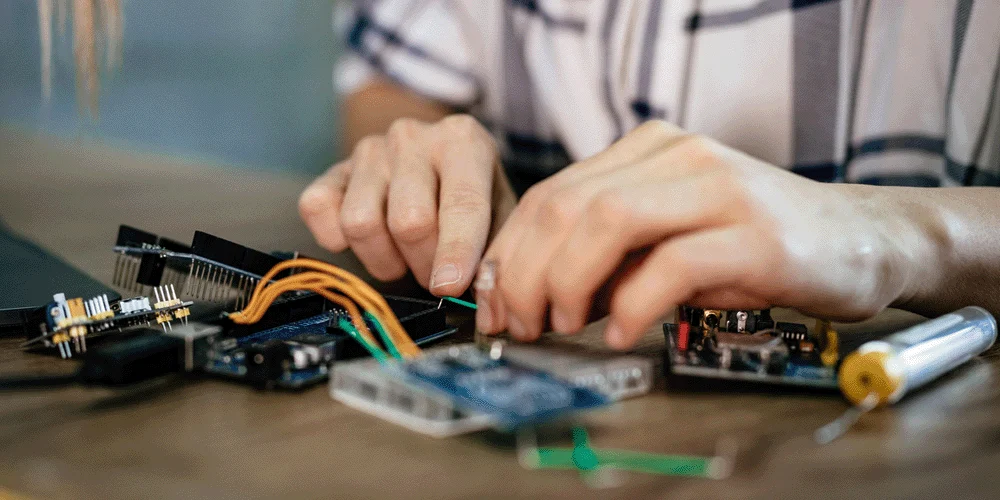
Many people look at a green circuit board and see an impossible puzzle. You might think you need a formal degree to build a working device. The truth is much more direct. Learning electronics starts by breaking large ideas down into small, repeatable steps right on your desk. You skip the heavy textbooks and grab physical parts. Building small projects teaches you the physical rules of electricity far better than reading abstract diagrams.
Shift Your Focus to Hands-On Building
The fastest way to learn is by touching the parts. You need a breadboard. A breadboard lets you push wires and components into tiny holes to connect them without using a hot soldering iron. If you make a mistake, you just pull the wire out and try again. This physical interaction makes abstract ideas real. Watching an LED turn on teaches you exactly how a continuous circuit loop works.
Working with physical parts shows you the difference between theory and reality. You see how batteries drain, how loose wires break a connection, and how adding resistance dims a light. Following structured beginner electronics lesson plans helps you stack these practical concepts in the right order.
Gather the Right Base Components
You do not need an entire warehouse of parts to build your first ten projects. A basic starter setup requires only a handful of exact items. You need a safe voltage source, a way to connect parts, and components that react to electricity. A 9-volt battery or a USB voltage supply keeps voltages safe enough to touch. Resistors slow down the current. LEDs provide immediate visual feedback.
Buying a massive box of random, unlabeled sensors usually causes confusion. A curated selection of components removes the guesswork.
| Component | Primary Function | First Project Use |
| Breadboard | Connects parts without solder | Platform for all early builds |
| Resistors | Slows down electrical current | Protecting LEDs from burning out |
| Jumper Wires | Routes electricity between rows | Completing the circuit loop |
| LED | Converts electricity to light | Providing instant visual feedback |
To get a clear idea of what a starter setup looks like, reading a trusted basic electronics tutorial shows you exact component recommendations for first-time builders.
Master the Art of the Simple Circuit
Every complex robotic arm or smart home sensor runs on the exact same rules as a single flashlight. Your primary goal is to master a basic closed loop. Electricity must flow from the positive side of your battery, through your components, and back into the negative side. Breaking that loop stops the flow. Adding a switch to that loop gives you control.
Once you can wire a switch to an LED without looking at a diagram, you are ready for the next step. You swap the basic switch for a sensor. You turn that basic light circuit into a motion-detecting alarm build by changing out the input device. The core layout of the circuit stays the same.
Test Safely and Fail Smartly
Mistakes happen in every build. A wire slips, a battery drains, or a part gets plugged in backward. These moments teach you how to troubleshoot. Instead of tossing the project aside, you trace the path of the electricity with your finger. You look for the exact point where the loop breaks.
Upgrading your toolkit with a digital multimeter makes this process much faster. A multimeter lets you measure the voltage directly on the board. You stop guessing and start reading the numbers. To see how experienced builders track down errors, you can review an introductory multimeter guide to learn the standard settings used for breadboard testing. Measuring your mistakes builds real technical confidence.


