If you’re building electronics as a beginner (or even as a hobbyist who’s shipping “real” projects), the decision between a breadboard and a soldered circuit isn’t about which one is “better.” It’s about what stage your project is in, what risks you can tolerate, and what kind of performance you need.
A breadboard is optimized for learning and iteration. A soldered circuit is optimized for stability and long-term use. The trick is knowing where the line is—because the wrong choice can waste hours chasing glitches that aren’t in your code or your schematic, but in the physical connections.
What A Breadboard Is Really Good At
A solderless breadboard is basically a reusable connection matrix. Inside, it has spring contacts that grip component leads and jumper wires. That spring pressure is what makes breadboards so fast: you can plug parts in, swap values, move wires, and rebuild a circuit in minutes.
That speed matters because electronics design is often a sequence of small decisions. You test a value, observe behavior, and adjust. Breadboards make that loop painless, which is why they’re so useful for first builds and early prototypes.
If you’ve never built on one before, start with a simple build like this breadboard LED circuit to get comfortable with rails, rows, and clean wire routing.
But breadboards have a downside: their convenience is built on mechanical contact, and mechanical contact is never perfect.
What A Soldered Circuit Is Really Good At
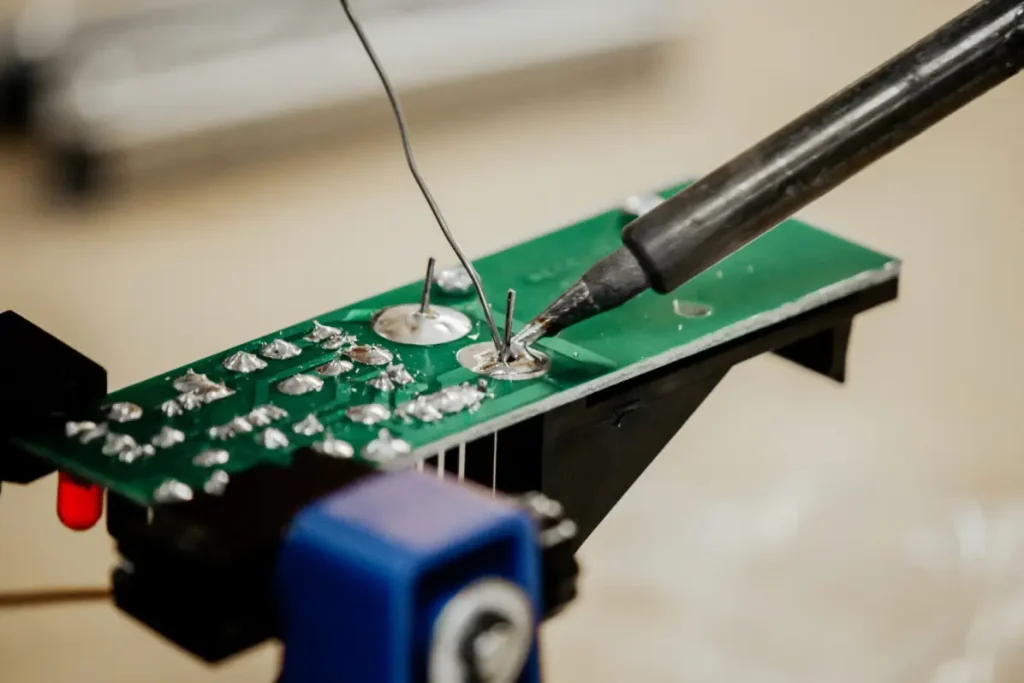
Soldering turns a “pressed contact” into a “metal joint.” That matters because soldered connections are typically lower resistance, less sensitive to vibration, and far more consistent over time.
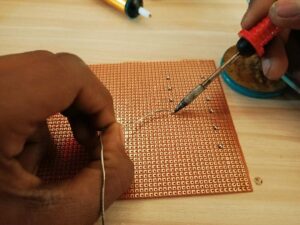
A soldered build also forces better physical design decisions. You think about where wires run, how components are supported, and how the circuit will survive normal handling. That’s why soldered circuits are the default for anything you plan to move, mount, or use repeatedly.
A soldered circuit isn’t automatically “professional,” but it is structurally committed. Once you solder a design, changes take longer. So the best workflow is usually: validate the circuit on a breadboard first, then solder once you’re confident.
Breadboard vs Soldered Circuit: The Practical Differences
The biggest differences show up in reliability, noise, current handling, and mechanical durability. These aren’t theoretical issues—they’re the reasons projects “work on Tuesday” and fail on Wednesday.
Connection Reliability
Breadboards rely on spring tension. Over time, contacts can loosen, jumper wires can oxidize, and the board can develop “touchy” rows where the connection is intermittent. That’s not the end of the world for learning, but it can absolutely derail debugging.
A soldered joint, when done correctly, is consistent. It doesn’t change when the table gets bumped, and it doesn’t depend on contact pressure to stay connected. If your project will be transported, shaken, or handled often, solder usually wins.
Signal Integrity And Electrical Noise
Breadboards introduce extra resistance and capacitance in ways that don’t show up in your diagram. Jumpers behave like tiny antennas. Long wire runs make circuits more sensitive to noise. This can matter a lot for:
- audio signals (hum, hiss, unpredictable squeals)
- high-speed digital lines (glitches, random resets)
- timing-sensitive circuits (missed pulses, unstable readings)
Soldered circuits can also be noisy if routed poorly, but they let you control geometry: shorter connections, consistent grounds, better separation of signals.
Current, Heat, And Power
A breadboard is not a power-handling platform. It’s great for low-current circuits, sensors, LEDs, logic, and microcontroller experiments. But when you start pushing higher current—motors, power LEDs, heating elements, or anything that pulls serious amperage—the contacts and thin jumpers become a bottleneck.
Soldered circuits can be designed for power: thicker wire, better connectors, stronger joints, and safer mechanical support. If your circuit warms up during use, that’s a strong hint you should avoid breadboards for the final version.
Physical Durability
Breadboards are meant to sit still. They don’t like being tossed into backpacks, mounted on moving objects, or used as “portable electronics.” You can make a breadboard build more stable with careful wire management, but the underlying connection system is still friction-based.
Soldered circuits, especially on perfboard or a small PCB, are far more durable. If your project is something you plan to demonstrate, mount in an enclosure, or run for hours, soldering becomes less optional and more like basic project hygiene.
Comparison Table: Breadboard vs Soldered Circuit
| Factor | Breadboard | Soldered Circuit |
|---|---|---|
| Best For | Learning, quick prototypes, testing values | Final builds, repeated use, portable projects |
| Build Speed | Very fast to change and iterate | Slower to modify once assembled |
| Reliability Over Time | Can become intermittent | Stable when solder joints are solid |
| Noise Susceptibility | Higher (long jumpers, loose geometry) | Lower (shorter, controlled routing) |
| Current Handling | Limited, not ideal for high current | Can be designed for higher current safely |
| Portability | Poor to moderate | Good to excellent |
| Debugging Experience | Great for learning, but can cause “ghost” issues | More consistent electrical behavior |
When Breadboards Cause Problems
A breadboard is often blamed unfairly, but it does have predictable failure modes. If a circuit behaves inconsistently, these are common root causes:
A jumper wire that isn’t fully seated can make a circuit appear “mostly working,” especially when you press on it. A component lead that’s slightly bent may not grip well. A power rail might be split in the middle (some breadboards are), so one side isn’t actually powered unless you bridge it.
The biggest clue is behavior that changes when you touch the board, move a wire, or shift the project slightly. That’s not software. That’s physical contact.
If you’re doing anything audio-related, breadboards can also make noise problems look like logic problems. That’s where circuit layout matters as much as the circuit itself.
When Soldering Too Early Causes Problems
Soldering too early locks in mistakes. If you haven’t validated values, pinouts, and wiring on a breadboard (or at least with careful testing), you can end up desoldering and reworking constantly.
The clean workflow is: prototype → verify → commit.
Verification means you’ve confirmed expected voltages, expected behavior, and stable operation for long enough to trust it. If your circuit only “works once,” it’s not ready to solder.
A Smart Workflow: Prototype On Breadboard, Then Solder
A practical way to decide is to treat breadboarding as the “design phase” and soldering as the “production phase,” even if you’re only producing one.
Start on a breadboard when:
- you’re learning the concept
- you’re experimenting with component values
- you expect multiple rewires
- you’re not sure the circuit will do what you want
Move to solder when:
- the circuit behavior is stable and repeatable
- you need portability or durability
- noise or intermittent connections are breaking the project
- you’re ready to mount the circuit into an enclosure
This approach also makes troubleshooting easier because you separate “design uncertainty” from “assembly quality.”
Choosing The Right Method For Common Project Types
A simple LED indicator, button input, or sensor readout is typically safe on a breadboard for a long time, especially if the project stays on a desk.
A motor control project is where breadboards often become frustrating. Motors inject noise, draw higher current, and react to mechanical movement—three things breadboards handle poorly.
Audio projects also tend to outgrow breadboards quickly. If you’re building something involving sound output, amplification, or tone generation, it’s not unusual to prototype on a breadboard and then solder the final layout to reduce hum and instability. Hardware used in media applications often depends on strong physical connections, especially in systems touching advanced broadcasting technology where consistent signal behavior matters.
Breadboard vs Soldered Circuit: The Bottom Line
Use a breadboard when you’re exploring, learning, and iterating. Use solder when you’re committing to a design that needs to behave the same way every time you turn it on.
The best builders don’t pick one forever. They move between them with intent: breadboards for discovery, solder for reliability. If you treat your build process that way, you’ll spend less time fighting “mystery bugs” and more time actually improving your circuit.
If you want, I can write the next StampsInClass article in the same style on: perfboard vs PCB, how to solder on perfboard, or how to troubleshoot intermittent breadboard connections (all pair naturally with this topic).