Building circuits often feels confined to a desk. You wire up lights and buttons, but the project rarely leaves your workspace. When you create a soil moisture alarm for houseplants, you solve a real physical problem using basic electronics. This build takes the logic you use to read buttons and applies it to dirt. You stop guessing when your fern needs water and let a flashing LED tell you exactly when the soil dries out.
How Water Carries Electricity
To make this alarm work, you need to measure the resistance of the soil. Pure water actually acts as a poor conductor. The minerals and salts dissolved in the water give it the ability to carry an electrical current. When you water a potted plant, the wet dirt forms a conductive bridge. As the dirt dries over several days, that bridge disappears, and the electrical resistance goes up.
You build a simple sensor by placing two metal probes into the pot. A small amount of voltage travels out of one probe, attempts to cross the soil, and enters the second probe. Reading a detailed soil moisture sensor overview explains exactly how your microcontroller measures this changing voltage to determine if a plant is thirsty.
Gathering Your Breadboard Components
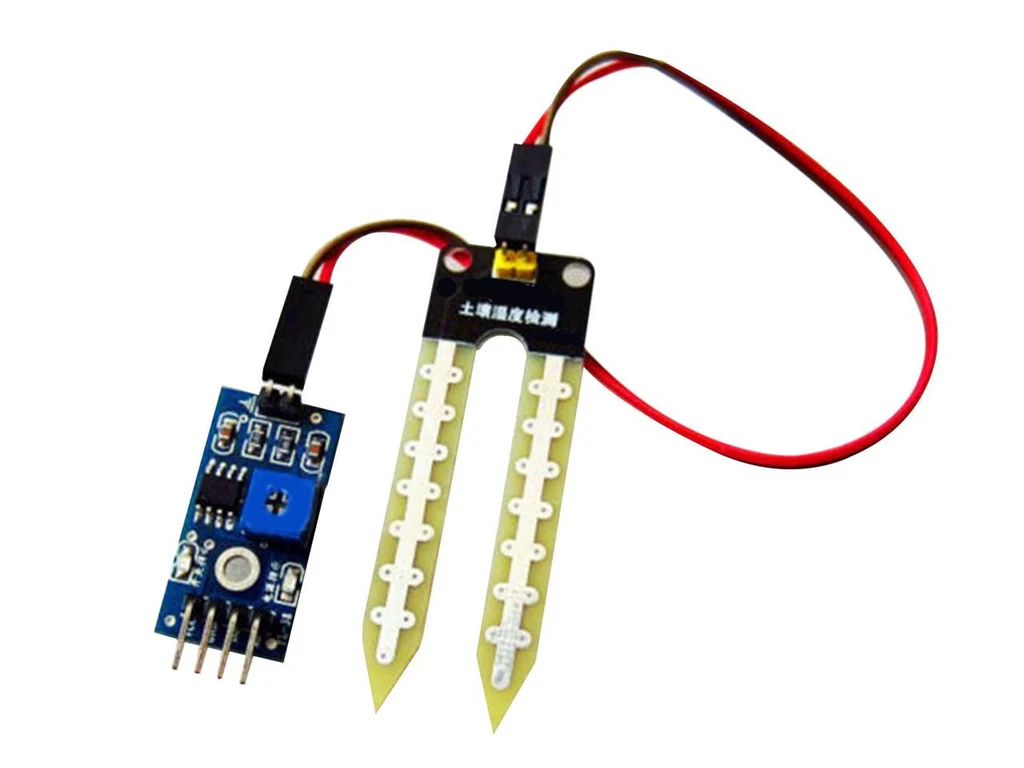
You need a few specific parts to translate wet dirt into a visible alarm. A basic analog soil moisture module serves as your main input. These small boards feature two long metal prongs and a tiny amplifier chip. You add a standard LED, a current-limiting resistor, and a beginner microcontroller to handle the logic.
This project perfectly fits into standard hands-on kits and builds since it relies on the exact same power rails and jumper wires you already use for indoor projects.
| Part | Function | Placement |
| Moisture Sensor | Reads electrical resistance of the dirt | Inserted directly into the plant pot |
| Microcontroller | Converts the analog reading into a decision | Centered on your breadboard |
| LED | Provides a visible warning light | Wired to a digital output pin |
| Resistor | Protects the LED from excess current | Bridging the LED to the ground rail |
Wiring the Sensor Circuit
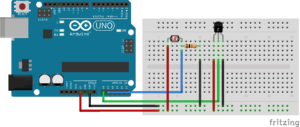
Connecting the sensor requires paying close attention to your pins. The sensor module needs a stable power source. You run a wire from the 5V pin on your board to the power pin on the module. You route the ground pin back to the main ground rail. The third pin carries the analog signal. You connect this signal pin directly to an analog input on your microcontroller.
Your code reads this pin constantly. When the soil is wet, the analog number stays high. As the soil dries, the number drops. Setting up this analog read function forms the core of the project. Reviewing a practical analog input coding guide shows you how to print these numbers directly to your computer screen for easy calibration.
Testing the Moisture Threshold
Every plant requires a different amount of water, meaning every sensor needs custom calibration. You cannot just guess the correct number. You must test the circuit in real conditions. Fill a small cup with dry dirt and insert the prongs. Write down the number displayed on your screen. Next, pour water into the cup and write down the new number.
You use these two numbers to set your threshold limit in the code. You tell the microcontroller to turn on the LED only when the sensor reading drops near the dry dirt number. This simple conditional logic turns raw data into an actionable alarm. If your alarm flashes too early, you lower the threshold number slightly.
Protecting Your Hardware
Electricity and water naturally oppose each other. You must keep your main breadboard safely away from the watering can. Place your microcontroller and wiring inside a plastic container. Only the metal sensor prongs belong in the dirt.
Leaving the sensor powered constantly speeds up corrosion on the metal prongs. The electricity interacting with the wet soil eats away the metal over time. Applying a smart power management technique extends the life of your sensor. You program the microcontroller to turn the sensor on for just one second every hour, take a reading, and turn it back off. This simple adjustment makes your alarm last for years instead of weeks.