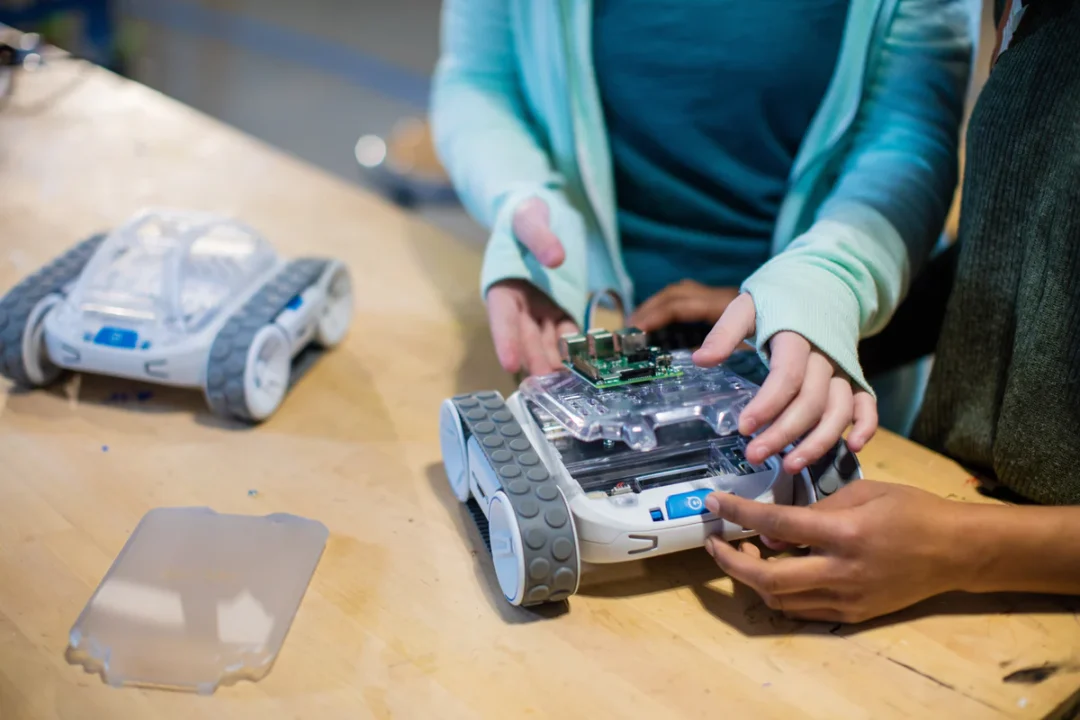
Making an LED blink feels rewarding. Making a physical object drive across your desk completely changes the learning experience. Transitioning from stationary circuits to your first small robots requires a few new components and a slight shift in thinking about electricity. You trade light bulbs and buzzers for wheels and gears. This step takes the fundamental rules of circuits you already know and applies them to kinetic energy.
Connecting Motors to a Breadboard
Direct current motors provide the physical push your chassis needs. These components pull a large amount of electricity from your batteries. Hooking a motor directly to a tiny microcontroller pin will permanently damage your board. You need a middleman to handle the heavy lifting.
A motor driver acts as a heavy-duty electronic switch. It takes small logic signals from your main board and opens the floodgates for a larger battery pack to drive the wheels safely. Reading a clear DC motor guide helps you choose the right size and voltage for your specific plastic chassis.
The Brains Behind the Movement
Your machine needs instructions to move forward, turn left, or stop. A microcontroller provides this logic. You write a few lines of code to tell the motor driver exactly when to activate the left wheel and when to turn off the right wheel.
Following structured beginner electronics lesson plans makes programming these specific movements feel much less confusing. You learn to sequence your commands one step at a time. Breaking the code down into small chunks prevents your chassis from driving off the table during your first test run.
| Component | Function | Practical Use |
| Microcontroller | Processes code and logic | Tells the chassis when to turn or stop |
| Motor Driver | Handles high current safely | Routes battery power directly to the motors |
| DC Motor | Converts electricity to motion | Spins the wheels on your chassis |
Managing Power for Moving Parts
Robots introduce a new problem you rarely see with simple sensors. You have two different systems demanding electricity at the same time. The microcontroller needs a very steady, low-voltage supply to think clearly. The motors need raw, high-current power to push the chassis over carpets and bumps.
Trying to run both systems from the exact same tiny battery pack usually causes the brain board to reset mid-drive. The sudden power draw from the motors starves the computer chip. You solve this by splitting your power supplies. You give the microcontroller its own small battery and route a much larger battery pack straight to the motor driver. This separation keeps the logic steady and gives the wheels the force they need. Reviewing standard robotics troubleshooting steps teaches you how to isolate these power issues from bad code.
Fixing Common Steering Issues
Beginners often wire everything correctly, but the machine spins in circles instead of driving straight. This happens when one motor is wired backward. DC motors change direction based on polarity. Swapping the positive and negative wires on the reversed motor fixes the problem instantly.
Another frequent issue is weak batteries. Motors demand high energy. A battery that still easily lights an LED might lack the strength to push a heavy plastic chassis. Swapping in fresh batteries serves as the fastest diagnostic test you can perform on a sluggish machine.
Expanding Your Robotic Systems
Once your chassis drives forward and backward reliably, you start adding senses. A basic collision switch tells the brain it hit a wall. An ultrasonic sensor acts like bat sonar, letting the machine detect an obstacle before a crash happens.
You take the exact same logic used to measure room temperature and apply it to steering. Each new sensor turns a blind remote-controlled car into an autonomous machine capable of reacting to its environment. Building these small machines gives you a physical way to test your programming logic right on the floor of your workspace.