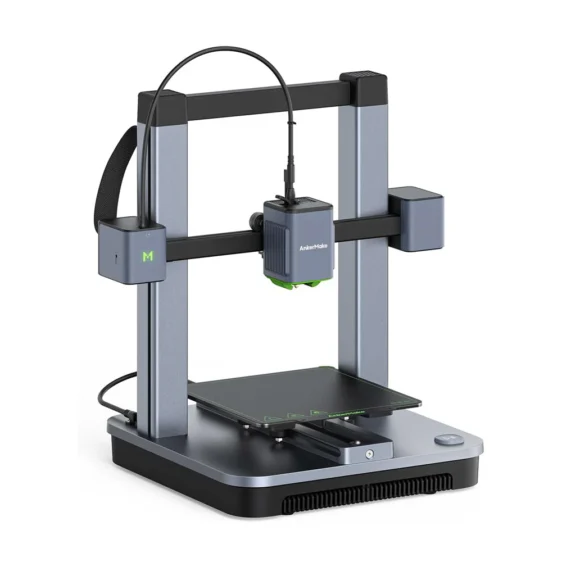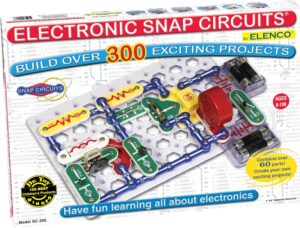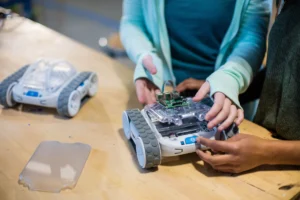
Making your first LED blink feels rewarding. Eventually, you want to put your finished circuit inside a physical case. A 3D printer turns spools of raw plastic into solid objects right on your desk. Buying and using 3D printer kits basics begins with seeing these machines as large electronic projects.
Why Build a Machine From Scratch
Buying a fully built machine gets you printing fast. Building a kit teaches you exactly how the hardware operates. You bolt the metal frame together. You route the electrical wires from the motors to the mainboard. This hands-on process removes the mystery behind the hardware. When a print fails later, you know exactly which belt slipped or which wire came loose.
Choosing the Right Starter Platform
You face three main choices when shopping for your first machine. Your decision depends on how much time you want to spend turning screws versus printing plastic. Following guided hands-on kits and builds prepares you perfectly for the assembly process of a new machine.
| Machine Type | Assembly Level | Ideal Builder |
| Fully Assembled | Ready in minutes | Users focusing only on the final plastic parts |
| Semi-Assembled Kit | One to two hours | Beginners wanting a balance of building and printing |
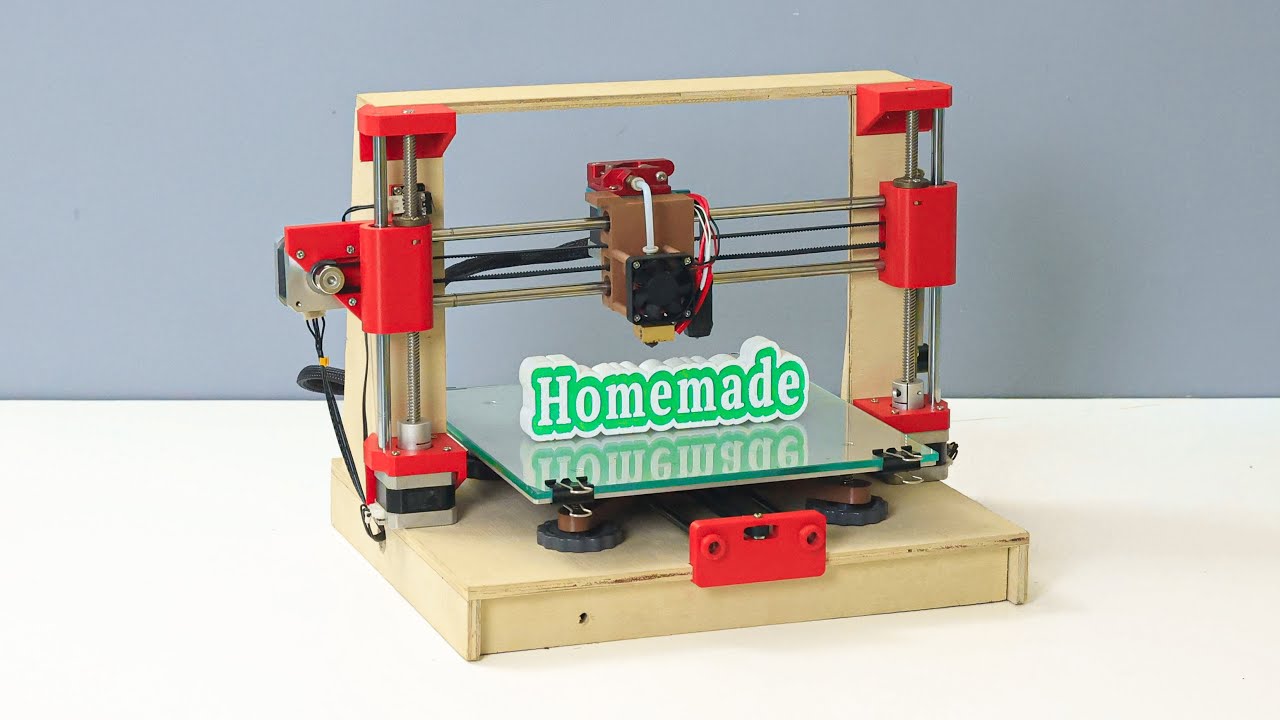
| Full DIY Kit | Several days | Hobbyists wanting to learn exactly how the hardware operates |
The Electronics Behind the Plastic
A 3D printer operates as a large robotic system. The main controller board acts as the brain. It reads digital files and converts them into physical movements. The board sends precise electrical pulses to the stepper motors, telling them exactly how far to turn. At the exact same time, it monitors analog temperature sensors to keep the melting plastic at a consistent heat.
Recognizing these components connects directly to standard tech basics and concepts you already use on your breadboard. You are simply scaling up from small LEDs to heavy-duty motors and heaters. Reviewing a comprehensive 3D printer anatomy guide clarifies how these specific hardware pieces interact before you buy your kit.
Managing Calibration and Bed Leveling
Your newly built machine requires strict calibration before making its first part. The hot nozzle must sit a very specific distance from the flat build plate. A nozzle resting too high makes the hot plastic fail to stick, creating a messy tangle of strings. A nozzle resting too low grinds into the bed and jams the extruder completely.
You turn physical knobs under the bed to adjust this gap manually. You slide a single piece of standard paper under the nozzle. You adjust the knobs until you feel a slight friction on the paper. This physical calibration process teaches you patience and precision.
Printing Your First Project Enclosures
You feed a spool of raw plastic thread, called filament, into the heated nozzle. The machine melts this material and draws your object layer by layer. PLA plastic serves as the best starting material. It melts at a lower temperature and rarely warps during the cooling process.
Once your machine prints reliably, you move beyond downloading generic models. You start designing custom plastic enclosures to protect your fragile breadboard wiring. Learning simple CAD software allows you to measure your electronics and print a perfectly sized box. Reading a detailed beginner 3D modeling tutorial gives you the exact steps needed to turn your digital ideas into physical plastic parts.