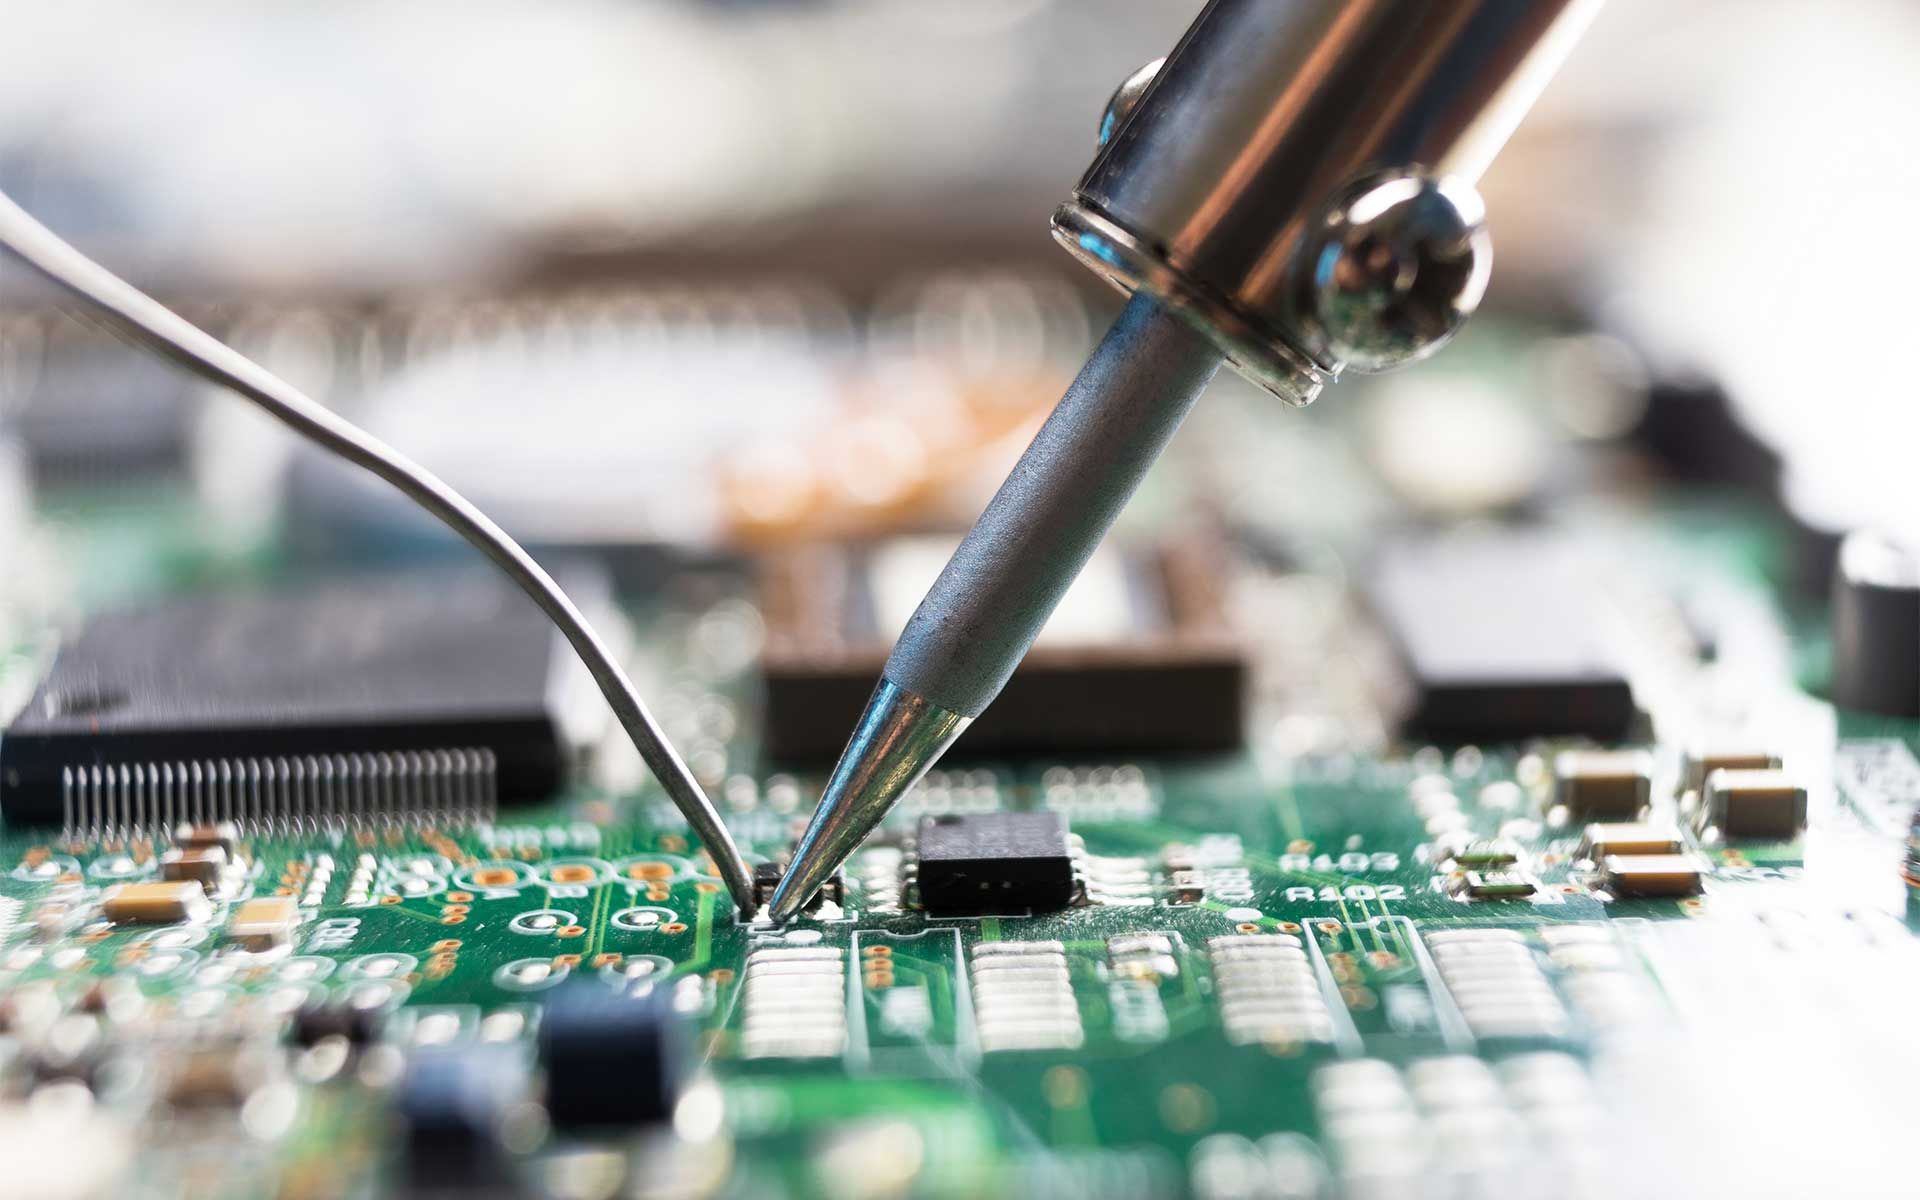
Moving from a breadboard to a printed circuit board changes how you build. You stop relying on friction to hold your wires in place and start melting metal to form permanent bonds. Applying a few beginner soldering tips prevents you from damaging your components or dealing with loose connections. Soldering fuses two pieces of metal together using a soft alloy, creating a solid electrical path that survives movement and physical vibration.
Heating the Joint and Not the Solder
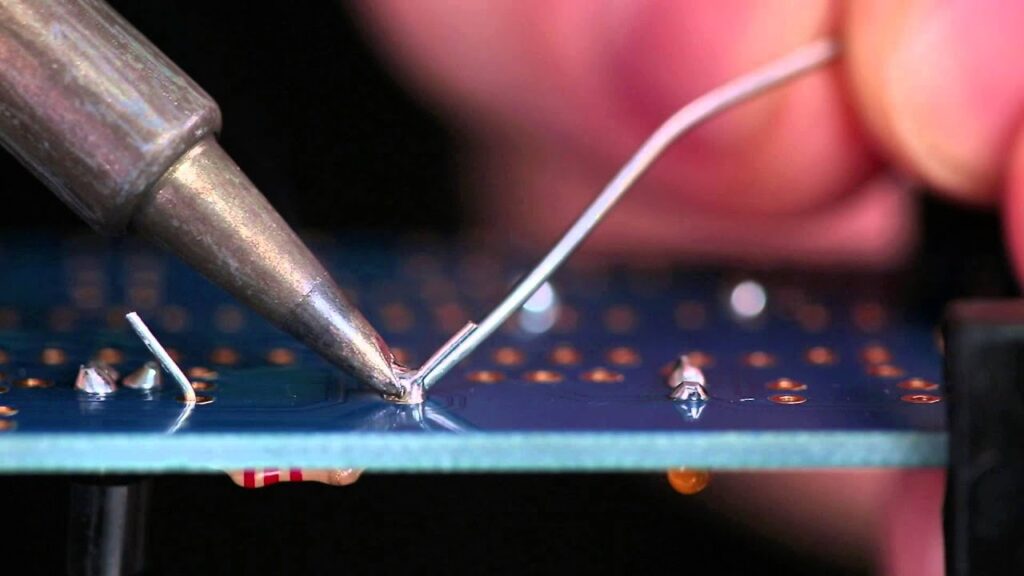
The most frequent mistake new builders make involves melting the solder directly on the hot iron. If you carry a blob of liquid metal to the circuit board, the solder cools too quickly and fails to stick to the copper pad. You must heat the metal components first. Place the tip of your iron so it touches both the component leg and the copper ring on the board at the exact same time.
Wait two seconds for the metal parts to heat up, then push the raw solder wire directly into the heated joint, opposite the iron. The hot component leg melts the solder, pulling the liquid metal down into the hole for a perfect connection. Reviewing a visual basic soldering tools guide shows you exactly how to position your iron to maximize this heat transfer.
Keeping the Iron Tip Clean
A dirty iron refuses to melt solder properly. As the iron sits hot on your desk, the metal tip oxidizes and turns black. This dark layer acts as a barrier, blocking the heat from reaching your circuit board. You must clean the tip constantly during a build session.
Keep a damp brass sponge or a wet cellulose sponge on your desk. Wipe the hot tip across the sponge every time you pick the iron up. The tip should look shiny and silver before you touch it to a component. Applying a tiny amount of fresh solder to the clean tip, a process called tinning, improves the heat transfer even more. Exploring a detailed soldering iron maintenance overview explains how a shiny tip speeds up your assembly time and prevents heat damage to sensitive microchips.
Spotting a Good Solder Joint
Visual inspection tells you immediately if your connection will hold. A perfect joint looks like a tiny, shiny silver volcano. The solder slopes smoothly from the copper pad up the side of the component leg. If the solder balls up like a bead of water on wax paper, you have a cold joint. Cold joints happen when the copper pad never reached the correct temperature, leaving a weak electrical path that will eventually fail.
| Joint Appearance | Structural Quality | Fix Required |
| Shiny smooth volcano | Excellent electrical connection | No fix needed |
| Dull round ball | Cold joint with weak connection | Reheat the joint until the solder flows flat |
| Spiky jagged peak | Iron removed too slowly | Add a tiny bit of flux and reheat quickly |
Transitioning to Permanent Projects
Practicing these physical skills allows you to move beyond temporary desk projects. You take the concepts you learned from standard tech basics and concepts and build devices that can travel in your backpack. Once you trust your joints to hold, you can mount sensors on moving robotic chassis or build permanent environmental monitors for your garden.
If you find a broken joint later, repairing it simply requires reheating the metal and adding a small amount of flux. Flux is a chemical paste that cleans the metal as it heats, forcing the solder to flow smoothly again. Reading a practical solder joint troubleshooting tutorial teaches you how to identify and repair these common mistakes without starting the entire board over.